GuideHow to’s | GuidesTech
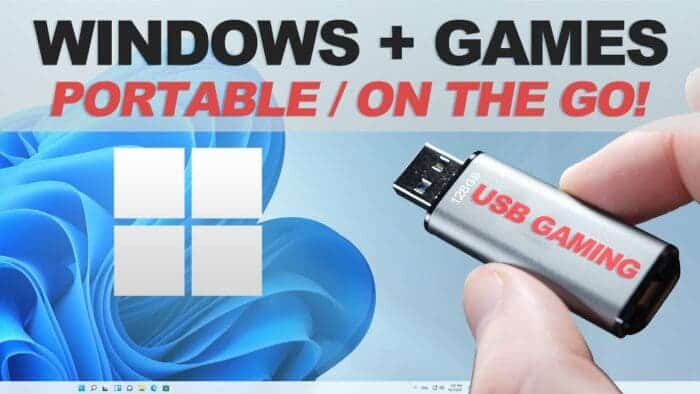
- Portable Gaming Made Easy: Use Your USB Drive
- What You’ll Need
- Step 1: Install Batocera on Your Flash Drive
- Step 2: Boot Your PC from the USB Flash Drive
- Method 1: Using Windows Recovery Options
- Method 2: Using BIOS Boot Menu
- Step 3: Load Games into Batocera
- Step 4: Start Playing!
- Additional Tips for the Best Gaming Experience
- Final Thoughts
Portable Gaming Made Easy: Use Your USB Drive
Frederick Nyame

March 4, 2025
Many gamers want a simple, portable way to play retro games anywhere. Some invest in handheld gaming devices, while others build Raspberry Pi setups. However, there’s an even easier solution—turning a USB flash drive into a retro gaming system.
With Batocera OS, an open-source operating system designed for retro gaming, you can transform a USB drive into a fully functional gaming console. Plug it into any PC, boot it up, and enjoy your favorite classic games without installing anything or carrying extra hardware. This setup is budget-friendly and works on various computers, making it a great option for retro gaming fans.
The best part? You can build this entire system for under $100. Whether you’re at home, traveling, or visiting friends, your retro games are always with you.
In this guide, we’ll walk you through the steps to set up your own portable USB gaming drive.
What You’ll Need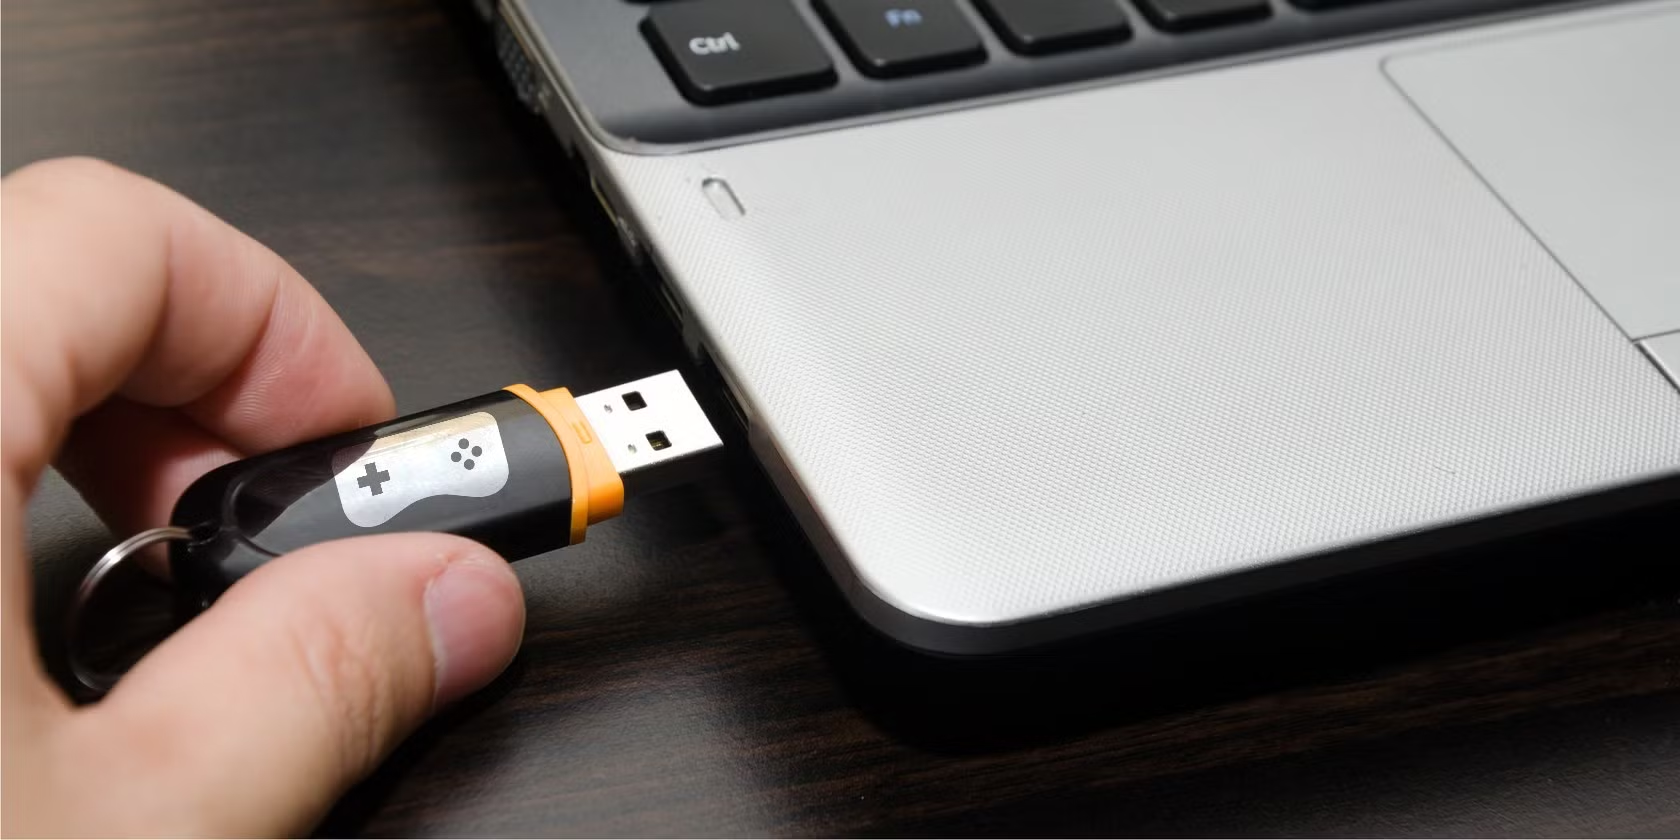
To create your portable gaming setup, you will need the following items:
- USB Flash Drive: A 512GB SanDisk drive is a good choice, but you can use a smaller or larger one based on your storage needs.
- Small Wireless Keyboard: A compact keyboard is useful for navigating menus. Some models even have built-in compartments for storing your USB drive.
- Gamepad: A controller like the 8BitDo Pro 2 is recommended. It supports USB-C, so you can easily plug it into your PC.
Step 1: Install Batocera on Your Flash Drive
Batocera is an open-source operating system designed for retro gaming. You will need to install it onto your flash drive before you can use it. Here’s how:
Now Batocera is installed on your USB drive. Next, you need to boot your PC into Batocera.
Step 2: Boot Your PC from the USB Flash Drive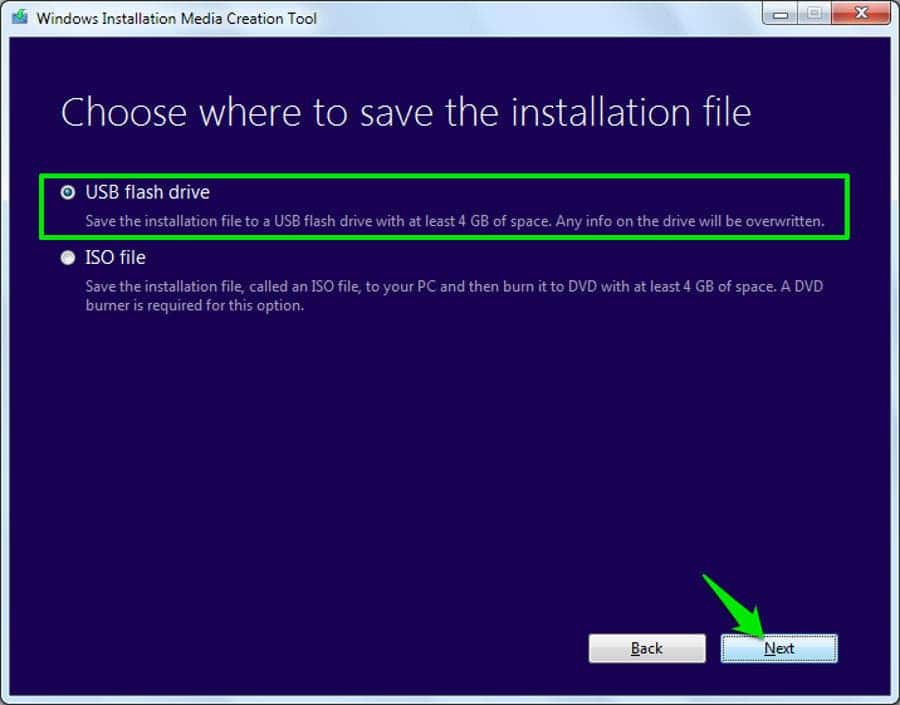
Your PC needs to boot from the USB drive instead of its internal hard drive. There are two ways to do this. If one doesn’t work, try the other.
Join GizChina on Telegram
Method 1: Using Windows Recovery Options
Method 2: Using BIOS Boot Menu
Step 3: Load Games into Batocera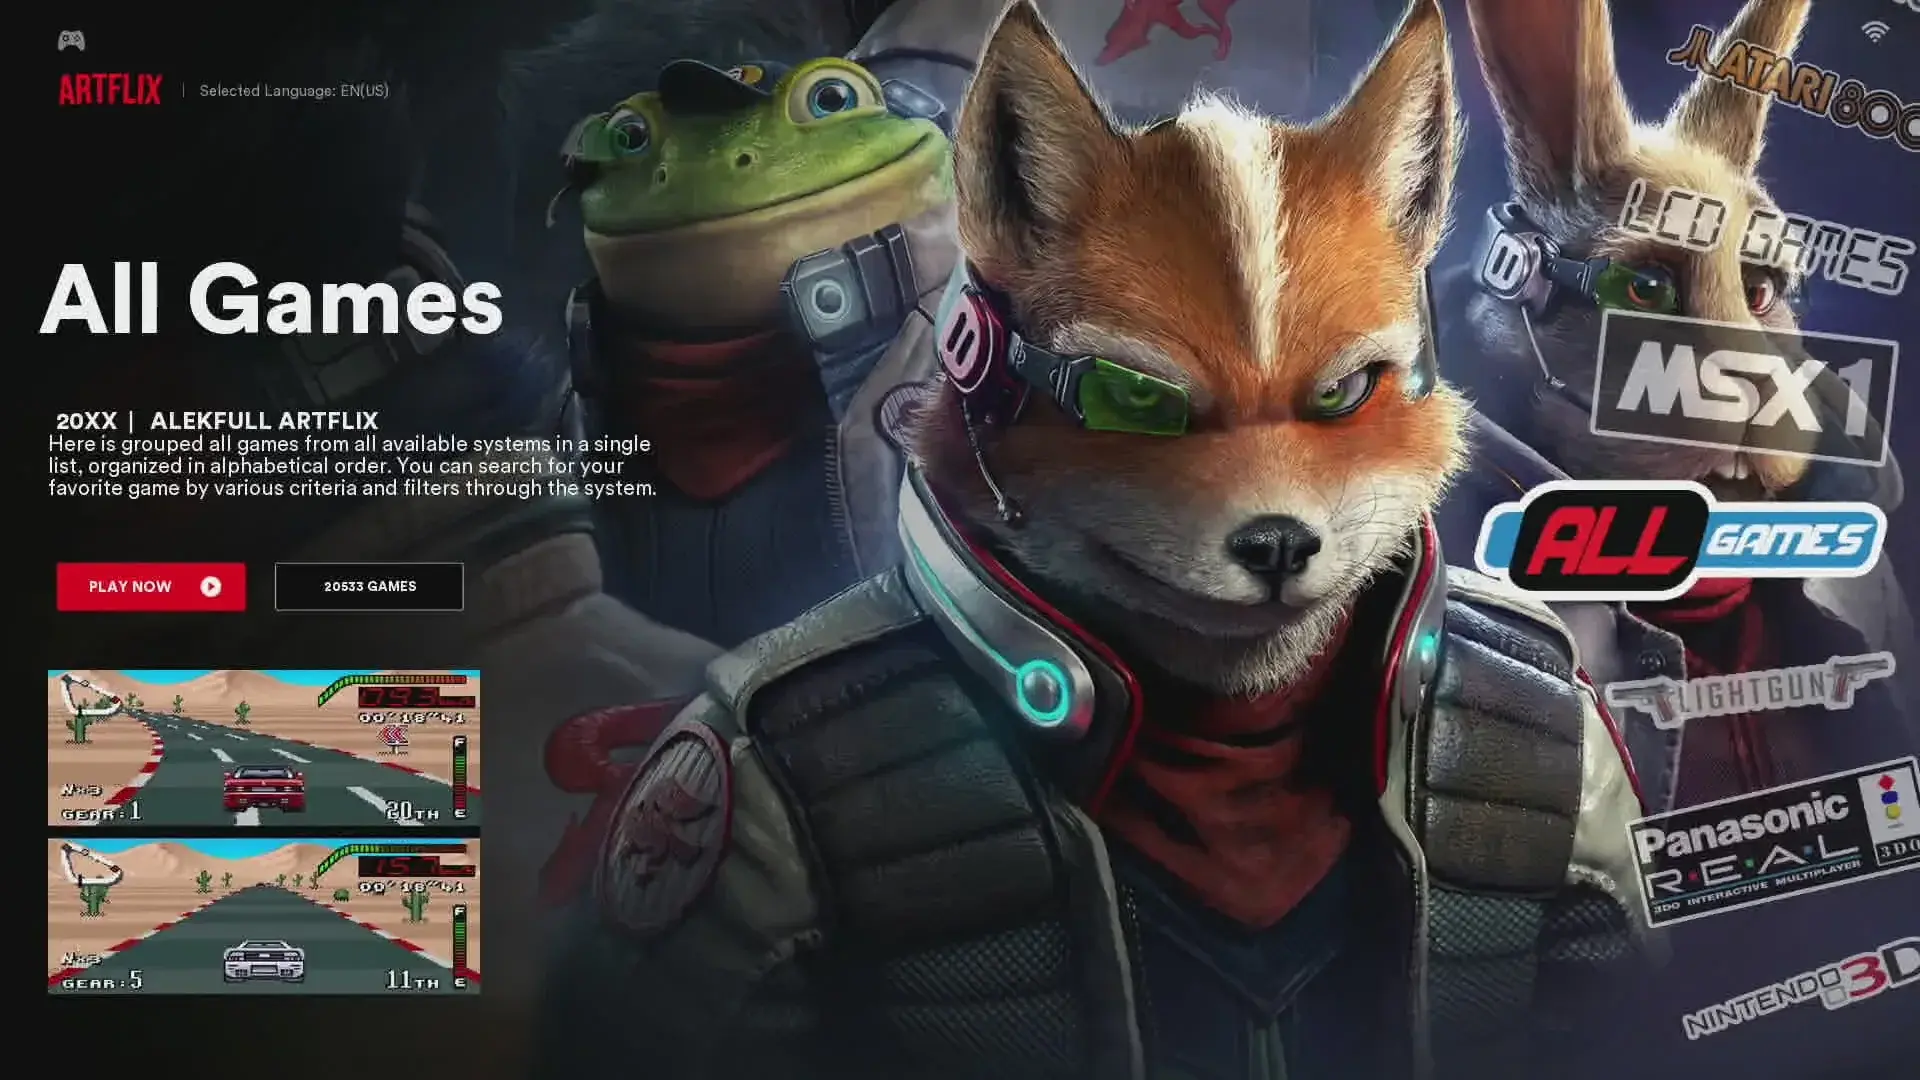
Now that Batocera is running, you need to add games. Batocera supports emulation for many classic consoles, including PlayStation 2, PlayStation 3, and Nintendo 3DS. Some free game ROMs come pre-installed, but you’ll likely want to add more.
Important Note: Downloading ROMs without owning the original games is illegal. Make sure you own a legal copy before transferring any ROMs.
Here’s how to add your games:
Some games may not display artwork. To fix this:
Step 4: Start Playing!
You’re now ready to enjoy your games! Insert your USB flash drive into any compatible PC, boot into Batocera, and play. Most mid-range PCs can run classic games at 60 FPS without issues.
Additional Tips for the Best Gaming Experience
Here are some useful things to keep in mind:
- Use a Faster USB Drive: A high-speed USB 3.0 or 3.1 drive will load games faster and improve performance.
- Adjust Settings for Best Graphics: Some emulators allow you to tweak resolution, frame rate, and shader settings to make games look better.
- Try an SD Card or External Hard Drive: If a USB flash drive doesn’t offer enough storage, consider using an SD card or a portable hard drive.
- Watch Batocera Tutorials: The Batocera Nation YouTube channel has helpful videos on optimizing your setup.
Final Thoughts
A USB flash drive might not seem like a typical gaming device, but it’s a powerful and convenient option. It lets you carry your entire retro gaming setup anywhere, without the need for bulky hardware. Whether you’re playing classic games on your laptop or a friend’s PC, Batocera OS makes the experience seamless and enjoyable.
This setup is perfect for gamers who love nostalgia but want a lightweight, hassle-free solution. With just a USB drive, you can access your favorite titles on different computers, making it a truly portable console.
Now that you’ve followed this guide, you have your own retro gaming system in your pocket. No need for expensive hardware—just plug and play whenever you want.
Enjoy the world of retro gaming, anytime and anywhere.
Disclaimer: We may be compensated by some of the companies whose products we talk about, but our articles and reviews are always our honest opinions. For more details, you can check out our editorial guidelines and learn about how we use affiliate links.